Aligning Images with Hugin
Easily process your bracketed exposures

Easily process your bracketed exposures
Hugin is an excellent tool for for aligning and stitching images. In this article, we’ll focus on aligning a stack of images. Aligning a stack of images can be useful for achieving several results, such as:
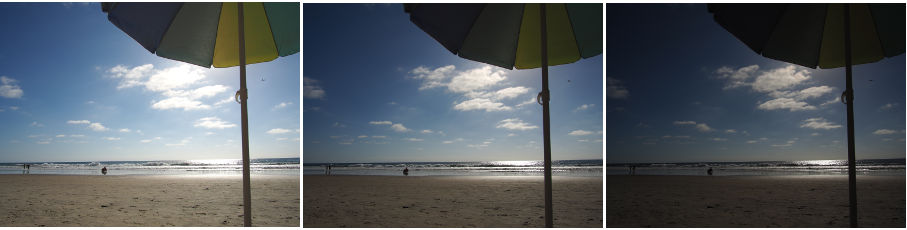
For the example images included with this tutorial, the focal length is 12mm and the focal length multiplier is 1. A big thank you to @isaac for providing these images.
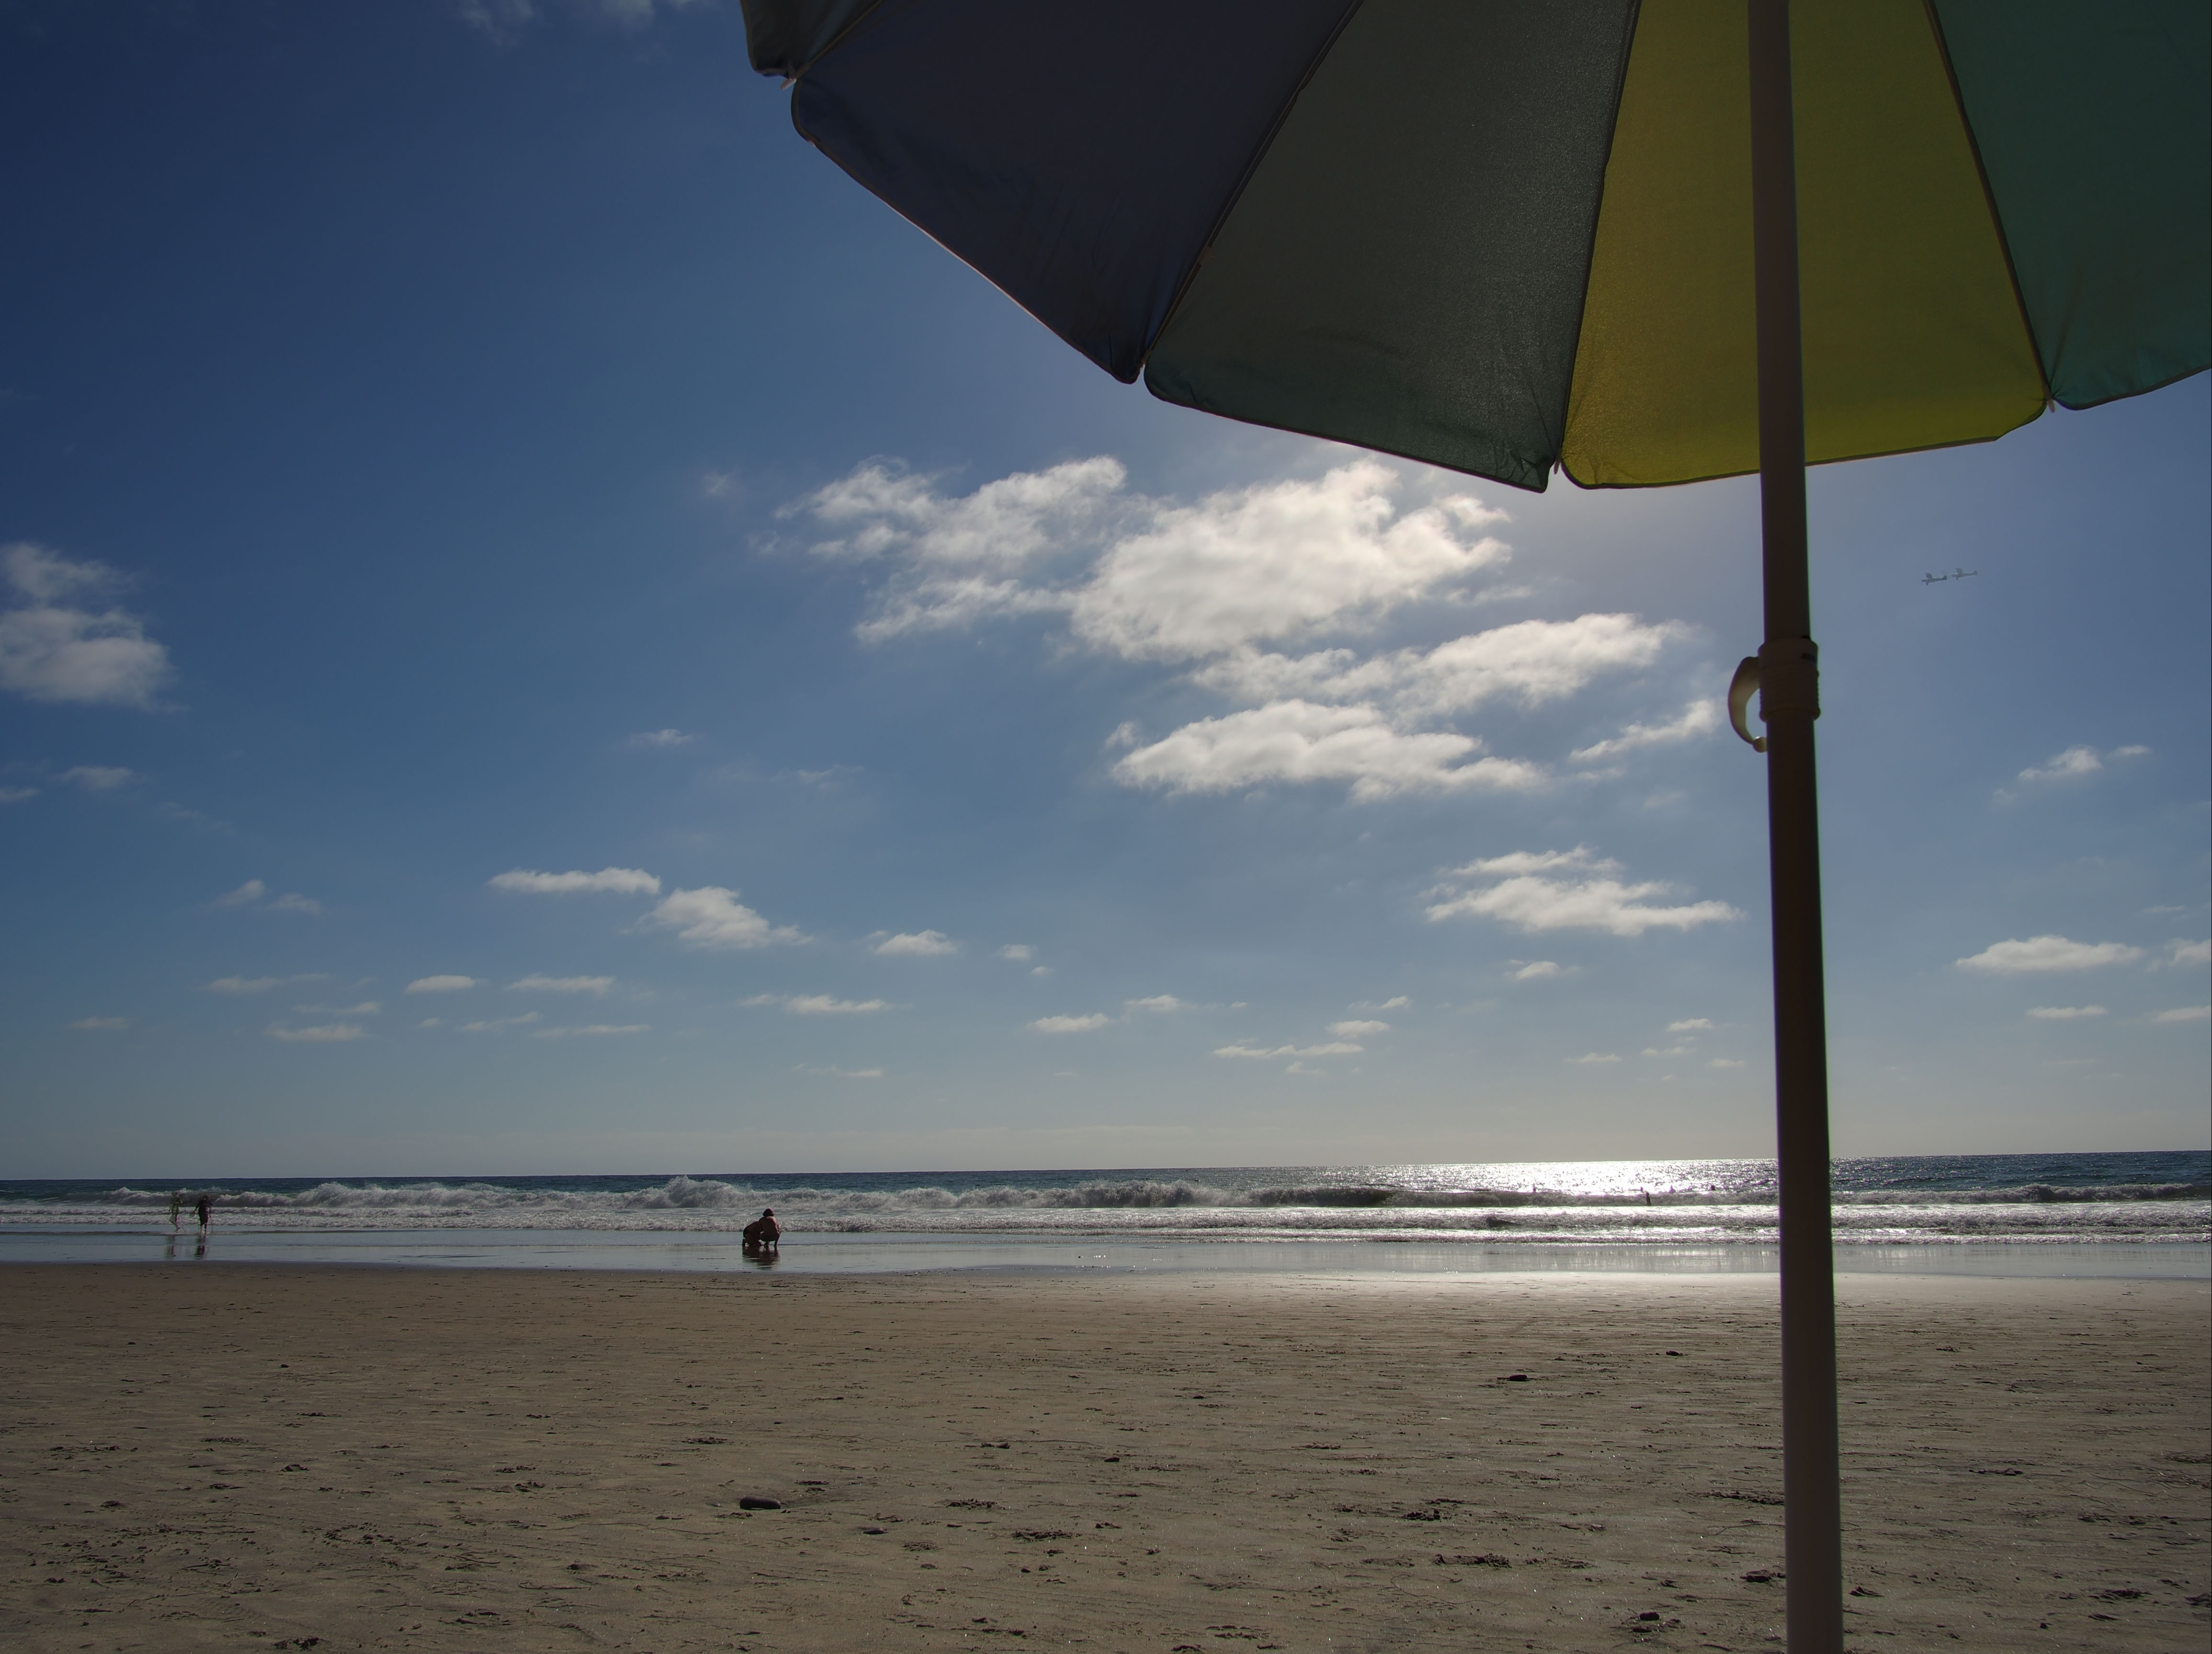
You can download a zip file of all of the sample Beach Umbrellas images here:
Download Outdoor_Beach_Umbrella.zip (62MB)
Other sample images to try with this tutorial can be found at the end of the post.
These instructions were adapted from the original forum post by @Carmelo_DrRaw; many thanks to him as well.
We’re going to align these bracked exposures so we can blend them:
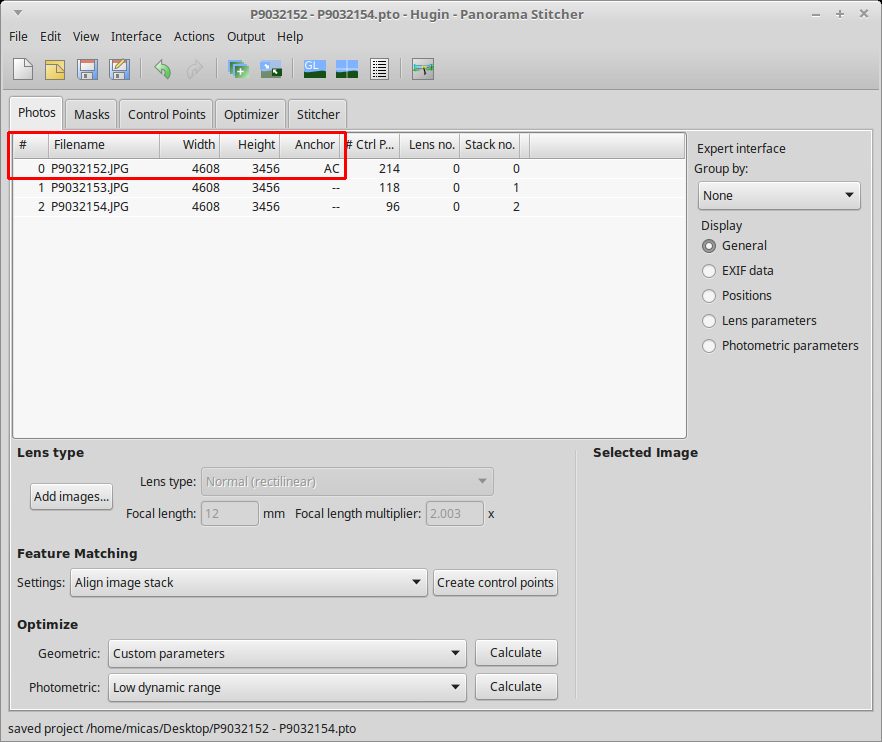
Select Interface → Expert to set the interface to Expert mode. This will expose all of the options offered by Hugin.
Select the Add images… button to load your bracketed images. Select your images from the file chooser dialog and click Open.
Set the optimal setting for aligning images:
Select the Optimizer tab.
In the Image Orientation section, select the following variables for each image:
You can Ctrl + left mouse click to enable or disable the variables.
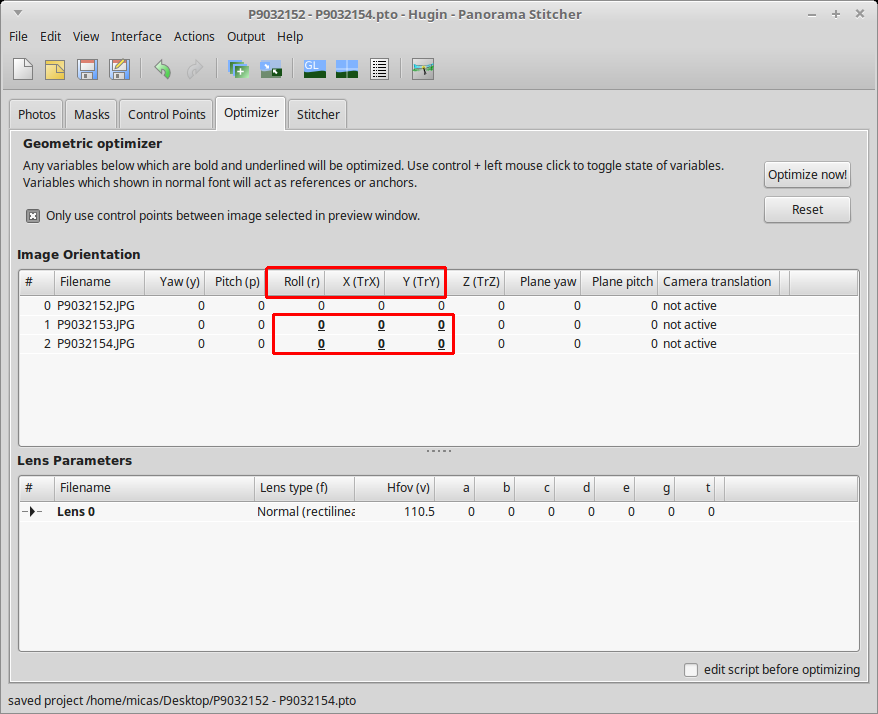
Note that you do not need to select the parameters for the anchor image:
Select Optimize now! and wait for the software to finish the calculations. Select Yes to apply the changes.
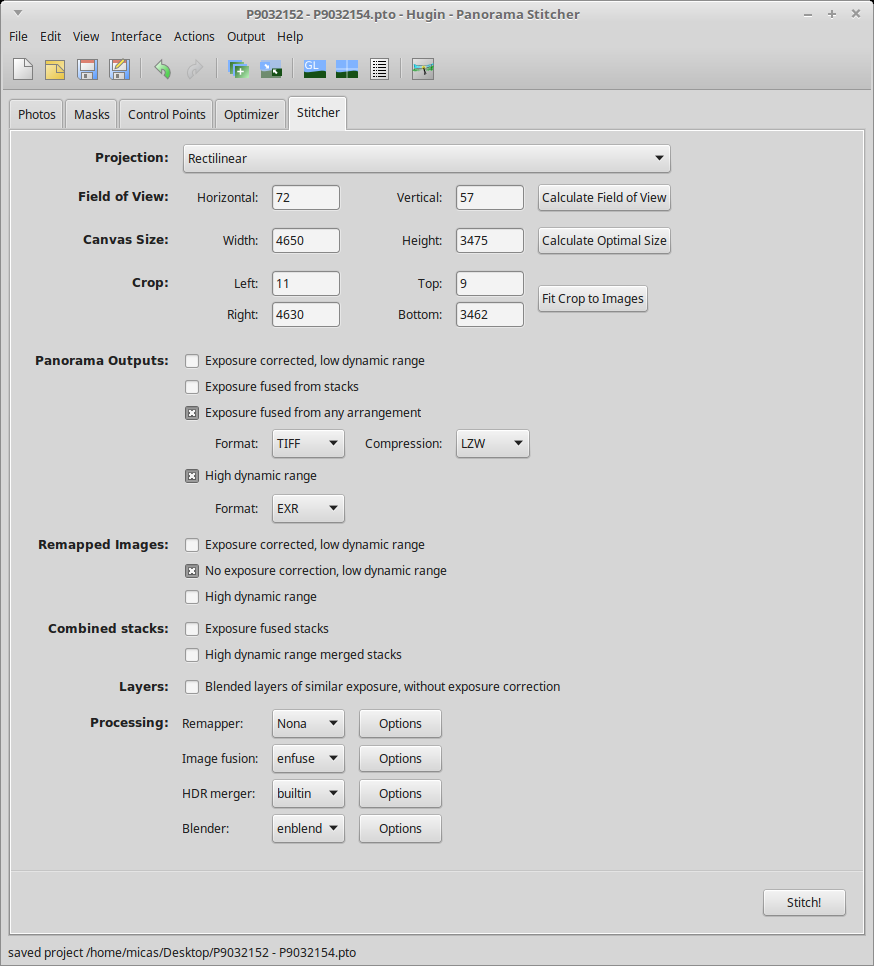
Select the Stitcher tab.
Select the Calculate Field of View button.
Select the Calculate Optimal Size button.
Select the Fit Crop to Images button.
To have the maximum number of post-processing options, select the following image outputs:
Remapped Images: No exposure correction, low dynamic range
Select the Stitch! button and choose a place to save the files. Since Hugin generates quite a few temporary images, save the PTO file in it’s own folder.
Hugin will output the following images:
You can see the result of the image blended with enblend/enfuse:
With the output images, you can:
Download Indoor_Guitars.zip (75MB)
Download Outdoor_Beach_Umbrella.zip (62MB)
Download Outdoor_Sunset_Over_Ocean.zip (60MB)

Free/Open Source Photography


Unless otherwise noted content on this site, PIXLS.US by Pat David, is licensed under a Creative Commons Attribution-ShareAlike 4.0 International License.