A Q&A with Photographer Riley Brandt
On creating a F/OSS photography course

On creating a F/OSS photography course
Riley Brandt is a full-time photographer (and sometimes videographer) at the University of Calgary. He previously worked for the weekly (Calgary) local magazine Fast Forward Weekly (FFWD) as well as Sophia Models International, and his work has been published in many places from the Wall Street Journal to Der Spiegel (and more).
He recently announced the availability of The Open Source Photography Course. It’s a full photographic workflow course using only free, open source software that he has spent the last ten months putting together.
Riley has graciously offered two free copies for us to give away!
For a chance to win, see this blog post.
I was lucky enough to get a few minutes of Riley’s time to ask him a few questions about his photography and this course.
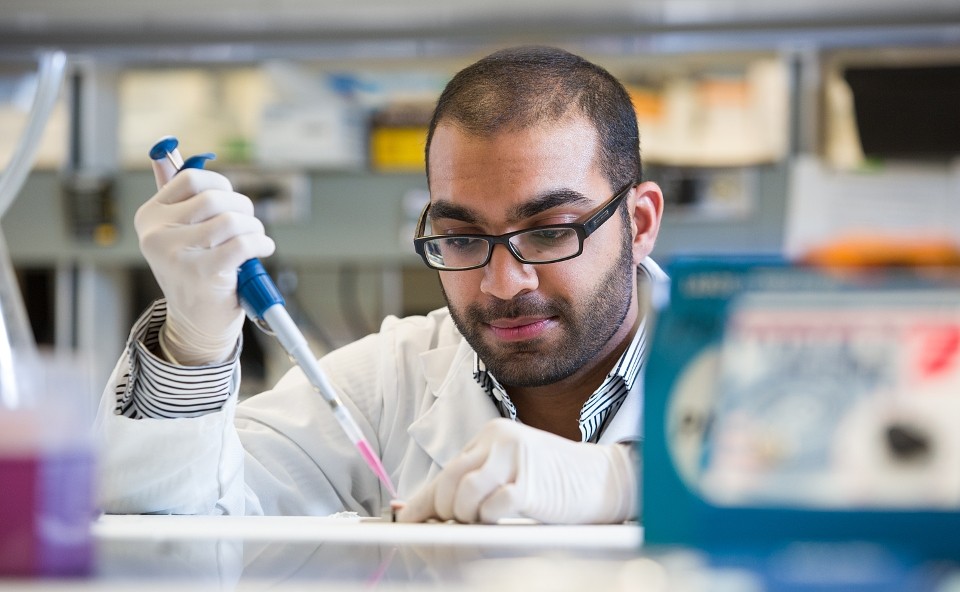
Hello, my name is Riley Brandt and I am a professional photographer at the University of Calgary.
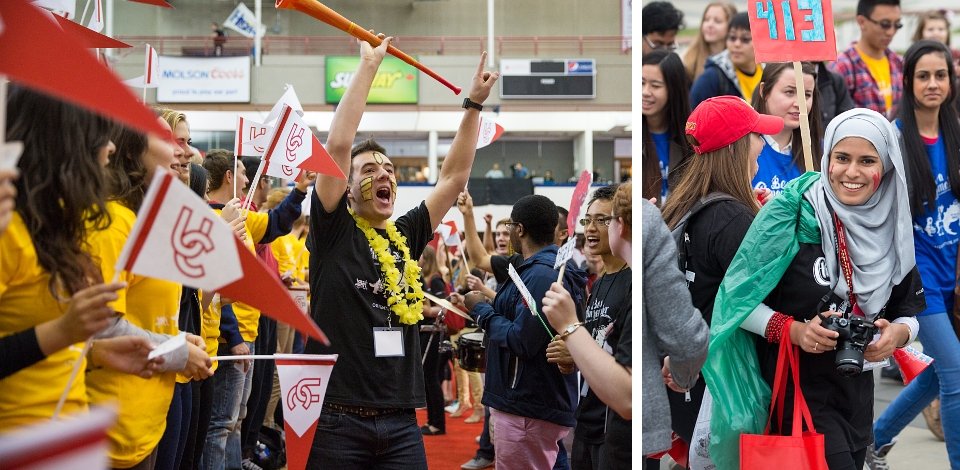
At work, I get to spend my days running around a university campus taking pictures of everything from a rooster with prosthetic legs made in a 3D printer, to wild students dressed in costumes jumping into freezing cold water for charity. It can be pretty awsome.
Outside of work, I am a supporter of Linux and open source software. I am also a bit of a film geek.

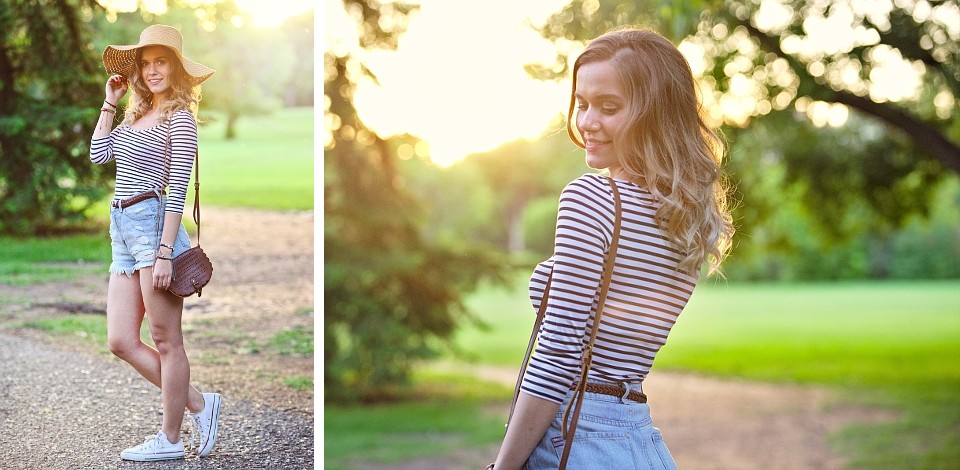
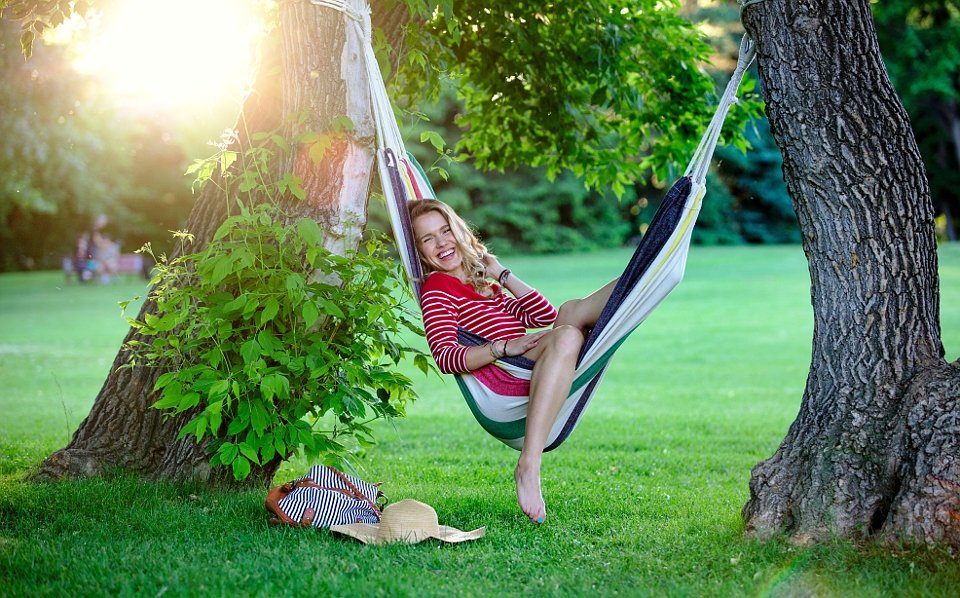
Though I definitely enjoy portraits, fashion and lifestyle photography, my day to day work as a photographer at a university is very similar to my photojournalism days.
I have to work with whatever poor lighting conditions I am given, and I have to turn around those photos quickly to meet deadlines.
However, I recently became an uncle for the first time to a baby boy, so I imagine I will be expanding into new born and toddler photography very soon :)
Photography started as a hobby for me when I was living the Czech Republic in the late 90s and early 2000s. My first SLR camera was the classic Canon AE1 (which I still have).
I didn’t start to work as a full time professional photographer until I graduated from the Journalism program at SAIT Polytechnic in 2008.
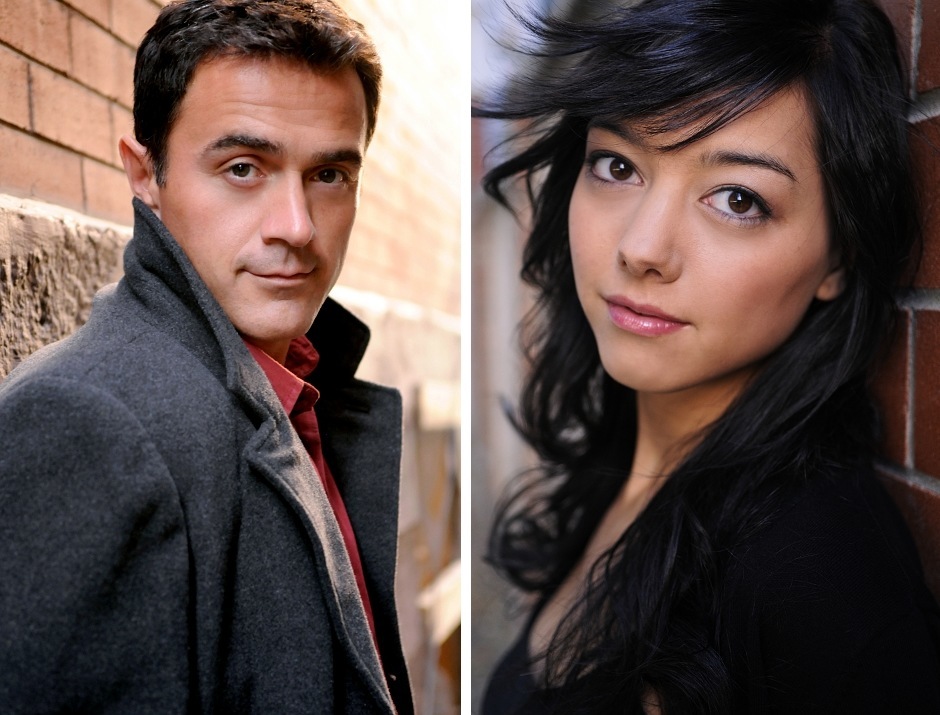
In a nutshell, I enjoy photographing people. This includes both portraits and candid moments at events.
I love meeting someone with an interesting story, and then trying to capture some of their personality in an image.
At events, I’ve witnessed everything from the joy of someone meeting an astronaut they idolize, to the anguish of a parent at graduation collecting a degree instead of their child who was killed. Capturing genuine emotion at events is challenging, and overwhelming at times, but is also very gratifying.
It would be hard for me to choose between candids or portraits. I enjoy them both.
I’ve been told several times that my images are very “clean”. Which I think means I limit the image to only a few key elements, and remove any major distractions.
I don’t have a favorite image in my collection.
However, at the end of a work week, I usually have at least one image that I am really happy with. A photo that I will look at again when I get home from work. An image that I look forward to seeing published. Those are my favorites.
Definitely not. I started with Adobe software, and still use it (and other non-free software) at work. Though hopefully that will change.
I switched to free software for all my personal work at home, because all my computers at home run Linux.
I also dislike at lot of Adobe’s actions as a company, ie: horrible security and switching to a “cloud” version of their software which is really just a DRM scheme.
There many significant reasons to not run non-free software, but what really motivated my switch initially was simply that Adobe never released a Linux version of their software.
I guess I am transitioning from Ubuntu to Fedora (both GNU/Linux). My main desktop is still running Ubuntu Gnome 14.04. But my laptop is running Fedora 21.
Ubuntu doesn’t offer an up to date version of the Gnome desktop environment. It also doesn’t use the Gnome Software Centre or many Gnome apps. Fedora does. So my desktop will be running Fedora in the near future as well.
Because it was so difficult for me to transition from Adobe software to free software, I wanted to provide an easier option for others trying to do the same thing.
Instead of spending weeks or months searching through all the different manuals, tutorials and websites, someone can spend a weekend watching my course and be up and running quickly.
Also, it was just a great project to work on. I got to combine two of my passions, Linux and photography.
Yes, it’s the same way I work.
I start with fundamentals like monitor calibration and file management. Then onto basics like correcting exposure, color, contrast and noise. After that, I cover less frequently used tools. It’s the same way I work.
I originally tried digiKam because it looked like it had most of the features I needed. However, KDE and I are like oil and water. The user interface felt impenetrable to me, so I moved on.
I also tried RawTherapee, but only briefly. I got some bad results in the beginning, but that was probably due to my lack of familiarity with the software. I might give it another go one day.
Once darktable added advanced selective editing with masks, I was all in. I like the photo management element as well.
Umm.. not just yet. I first need to rest :)
It’s hard to say right now. Possibly a more in depth look at GIMP. Or a series where viewers watch me edit photos from start to finish.
A break for sure :) I spent most of my weekends preparing and recording a lesson for the past year. So yes, first a break.
I would like to recommend the Desktop Publishing course created by GIMP Magazine editor Steve Czajka for anyone who is trying to transition from Adobe InDesign to Scribus.
I would also love to see someone create a similar course for Inkscape.
The Open Source Photography Course is available for order now at Riley’s website. The course is:
He has also released some preview videos of the course:
From his site is a nice course outline to get a feel for what is covered:


Free/Open Source Photography


Unless otherwise noted content on this site, PIXLS.US by Pat David, is licensed under a Creative Commons Attribution-ShareAlike 4.0 International License.