A Masashi Wakui look with GIMP
A color bloom fit for night urban landscapes

A color bloom fit for night urban landscapes
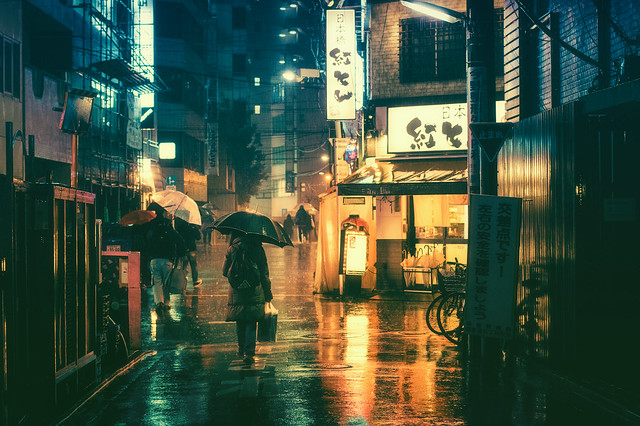
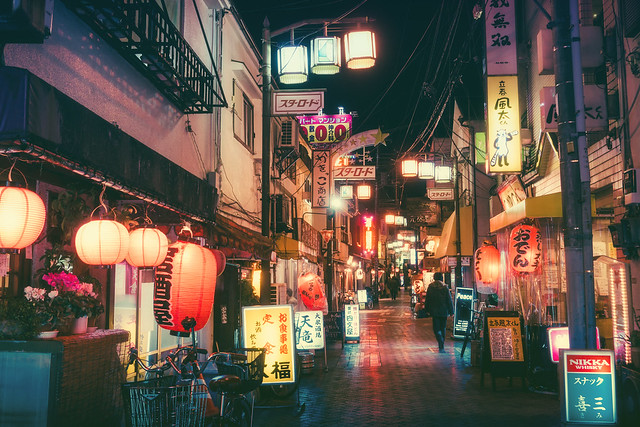
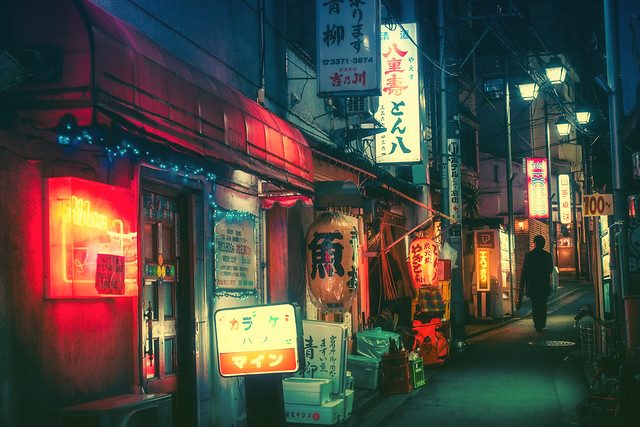
This tutorial explains how to achieve an effect based on the post processing by photographer Masashi Wakui. His primary subjects appear as urban landscape views of Japan where he uses some pretty and aggressive color toning to complement his scenes along with a soft ‘bloom’ effect on the highlights. The results evoke a strong feeling of an almost cyberpunk or futuristic aesthetic (particularly for fans of Bladerunner or Akira!).
This tutorial started its life in the pixls.us forum, which was inspired by a forum post seeking assistance on replicating the color grading and overall look/feel of Masashi’s photography.
To follow along will require a couple of plugins for GIMP.
The Luminosity Mask filter will be used to target color grading to specific tones. You can find out more about luminosity masks in GIMP at Pat David’s blog post and his follow-up blog post. If you need to install the script, directions can be found (along with the scripts) at the PIXLS.US GIMP scripts git repository.
You will also need the Wavelet decompose plugin. The easiest way to get this plugin is to use the one available in G’MIC. As a bonus you’ll get access to many other incredible filters as well! Once you’ve installed G’MIC the filter can be found underDetails → Split details [wavelets].
We will do some basic toning and then apply Gimp’s wavelet decompose filter to do some magic. Two things will be used from the wavelet decompose results:
The basic idea is to use the residual of the the wavelet decompose filter to color the image. What this does is average and blur the colors. The trick strengthens the effect of the surroundings being colored by the lights. The number of wavelet scales to use depends on the pixel size of the picture; the relative size of the coarsest wavelet scale compared to the picture is the defining parameter. The wavelet scale 8 will then produce overemphasised local contrasts, which will accentuate the lights further. This works nicely in pictures with lights as the brightest areas will be around lights. Used on daytime picture this effect will also accentuate brighter areas which will lead to a kind of “glow” effect. I tried this as well and it does look good on some pictures while on others it looks just wrong. Try it!
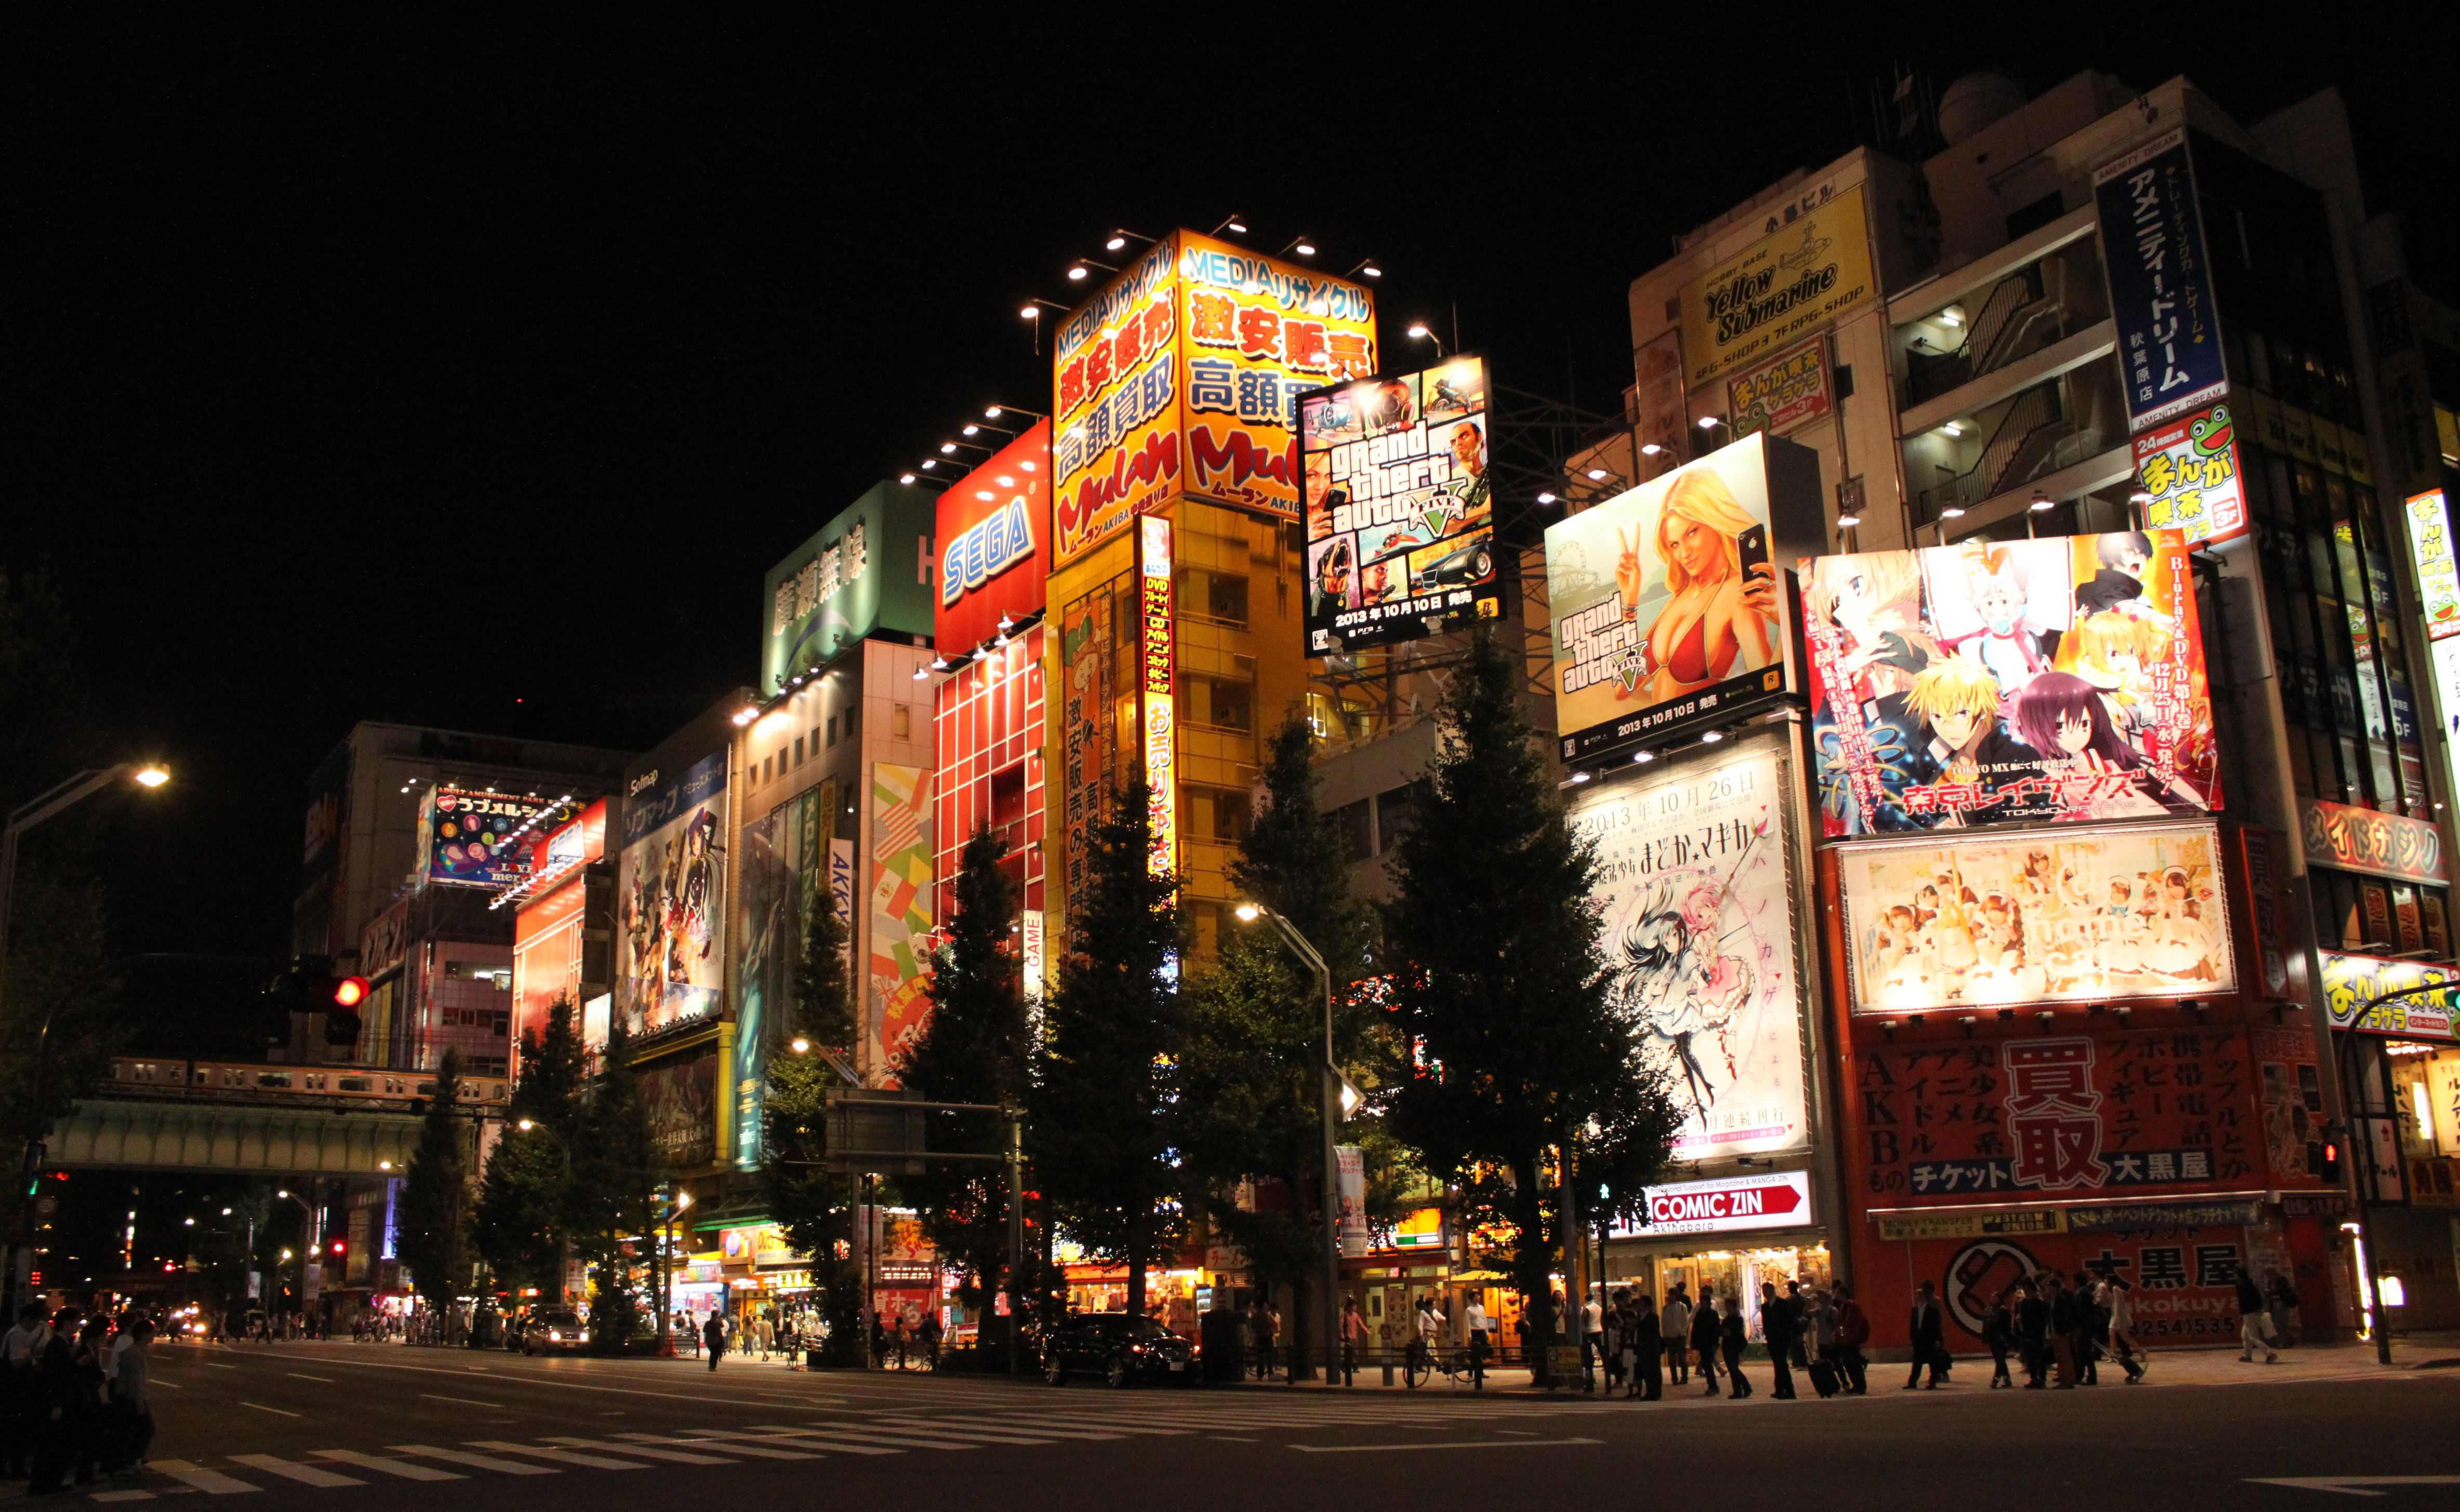
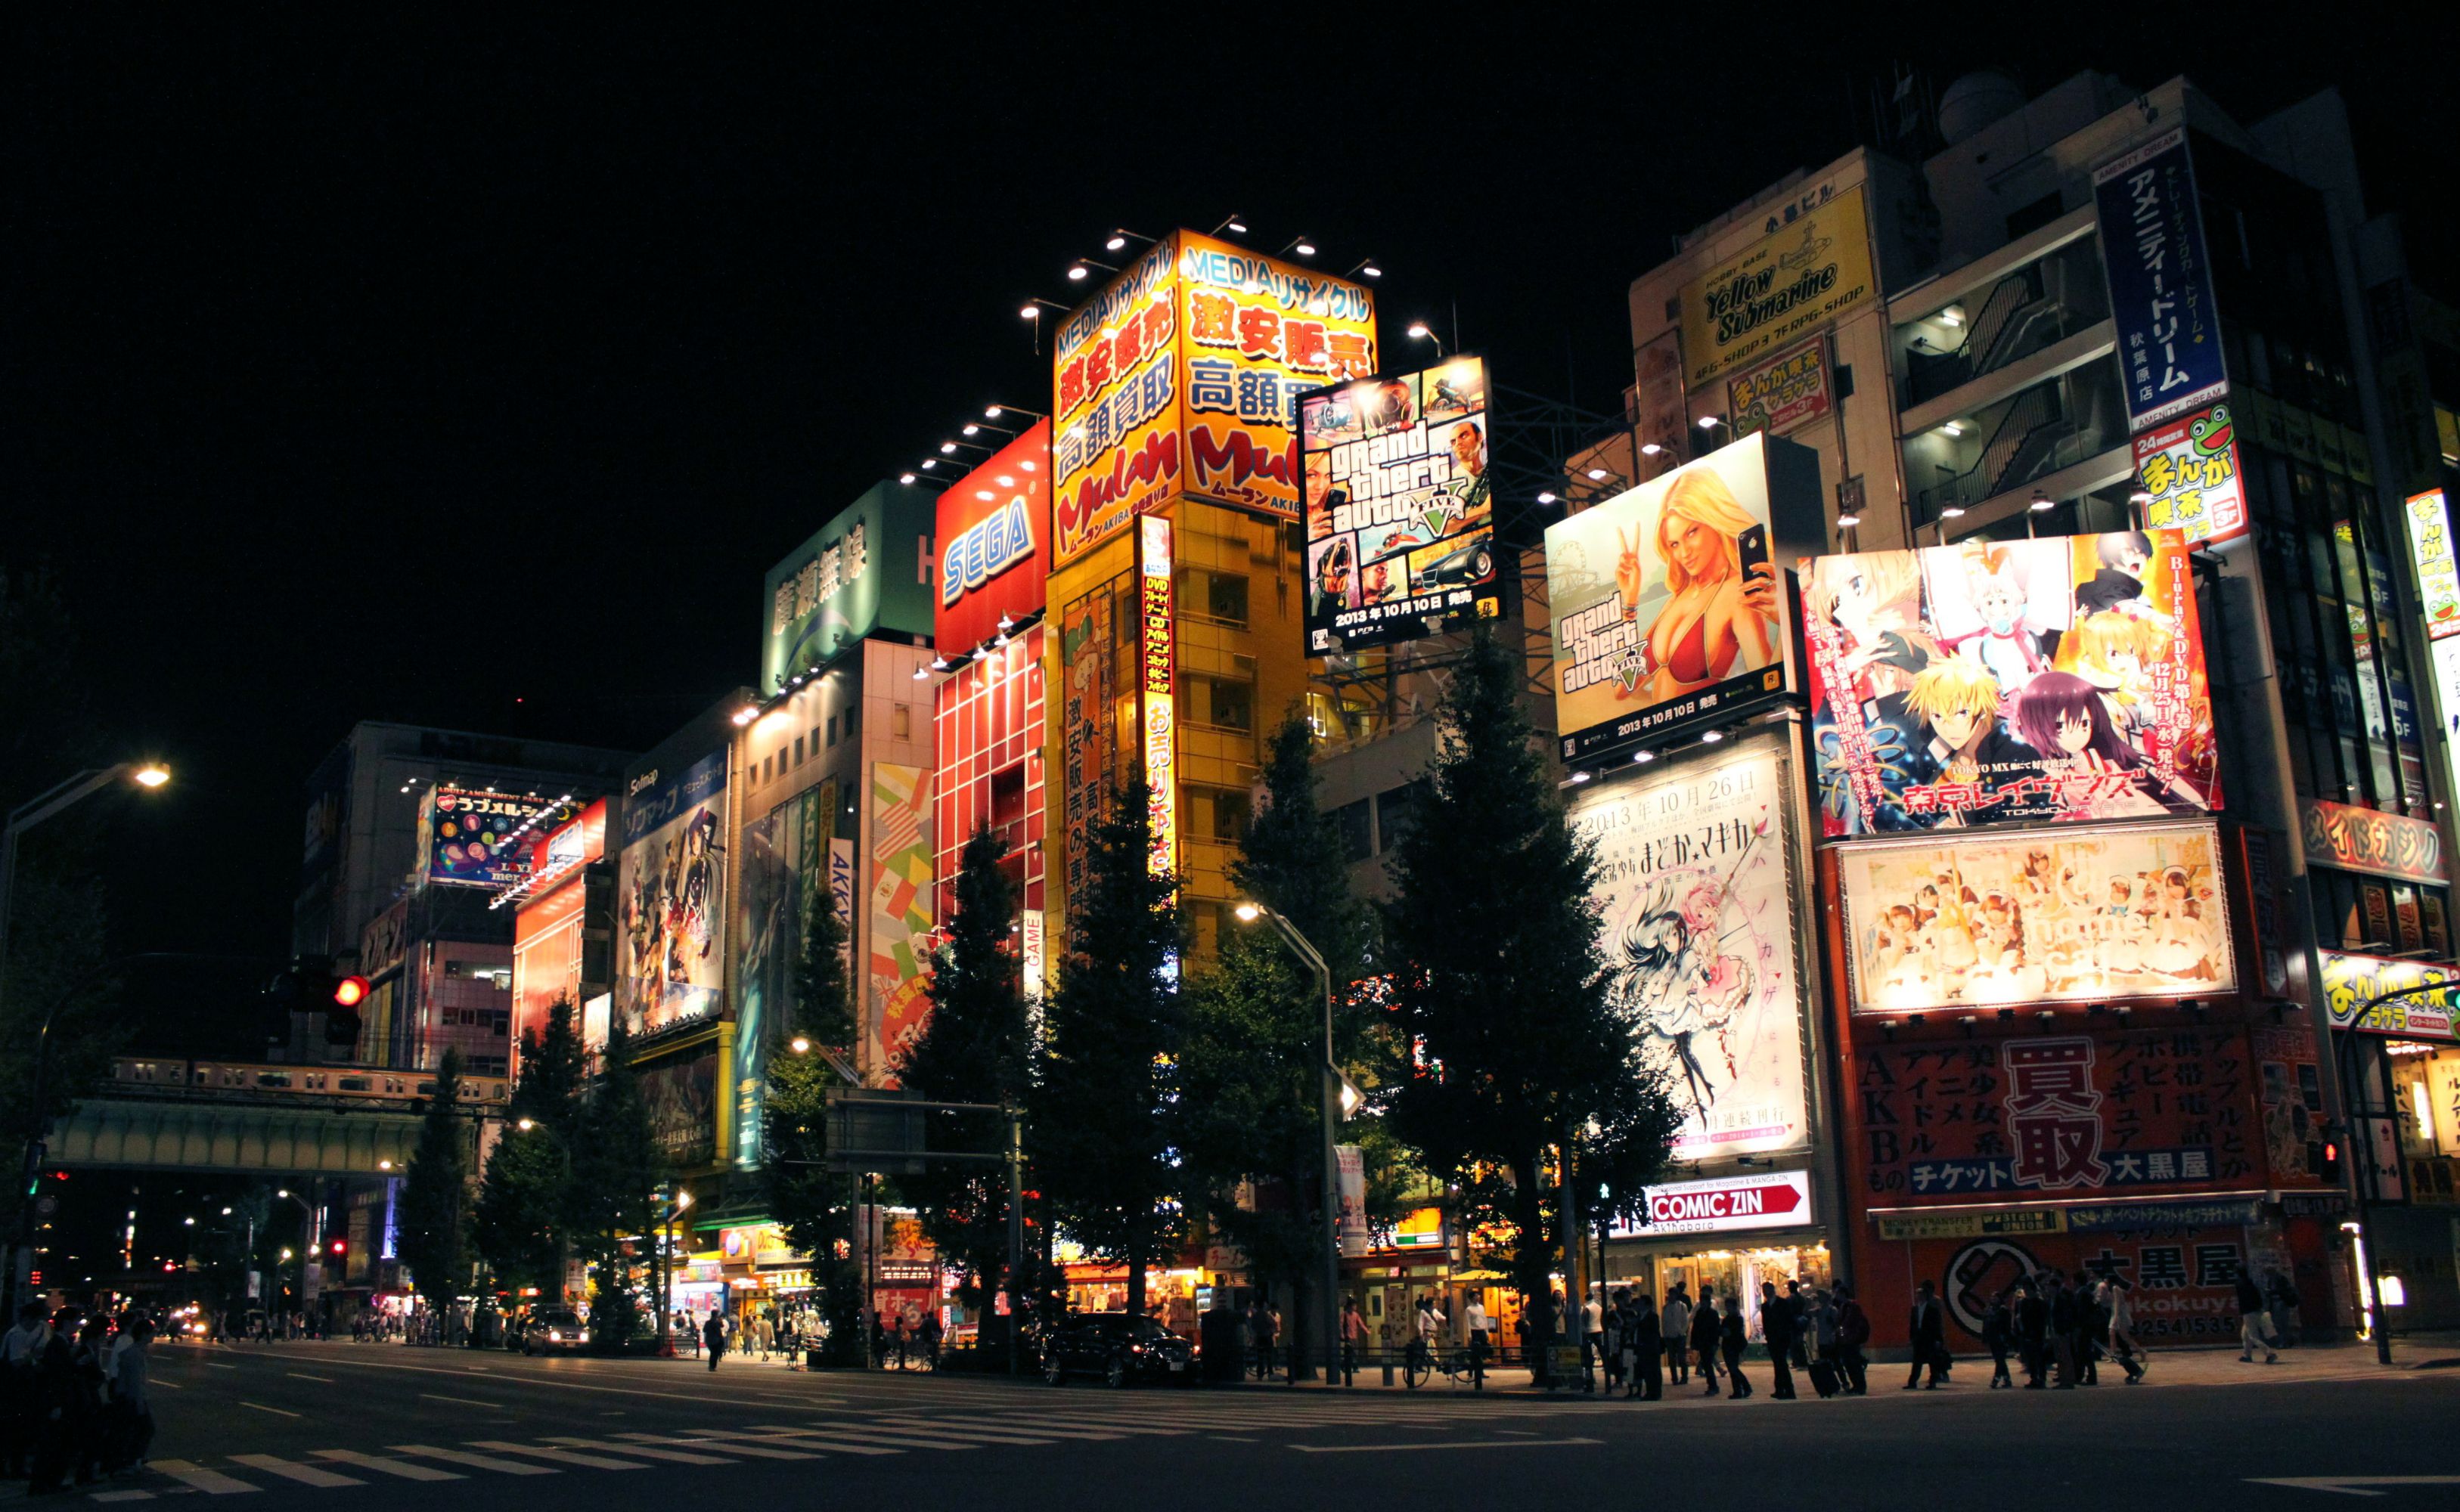
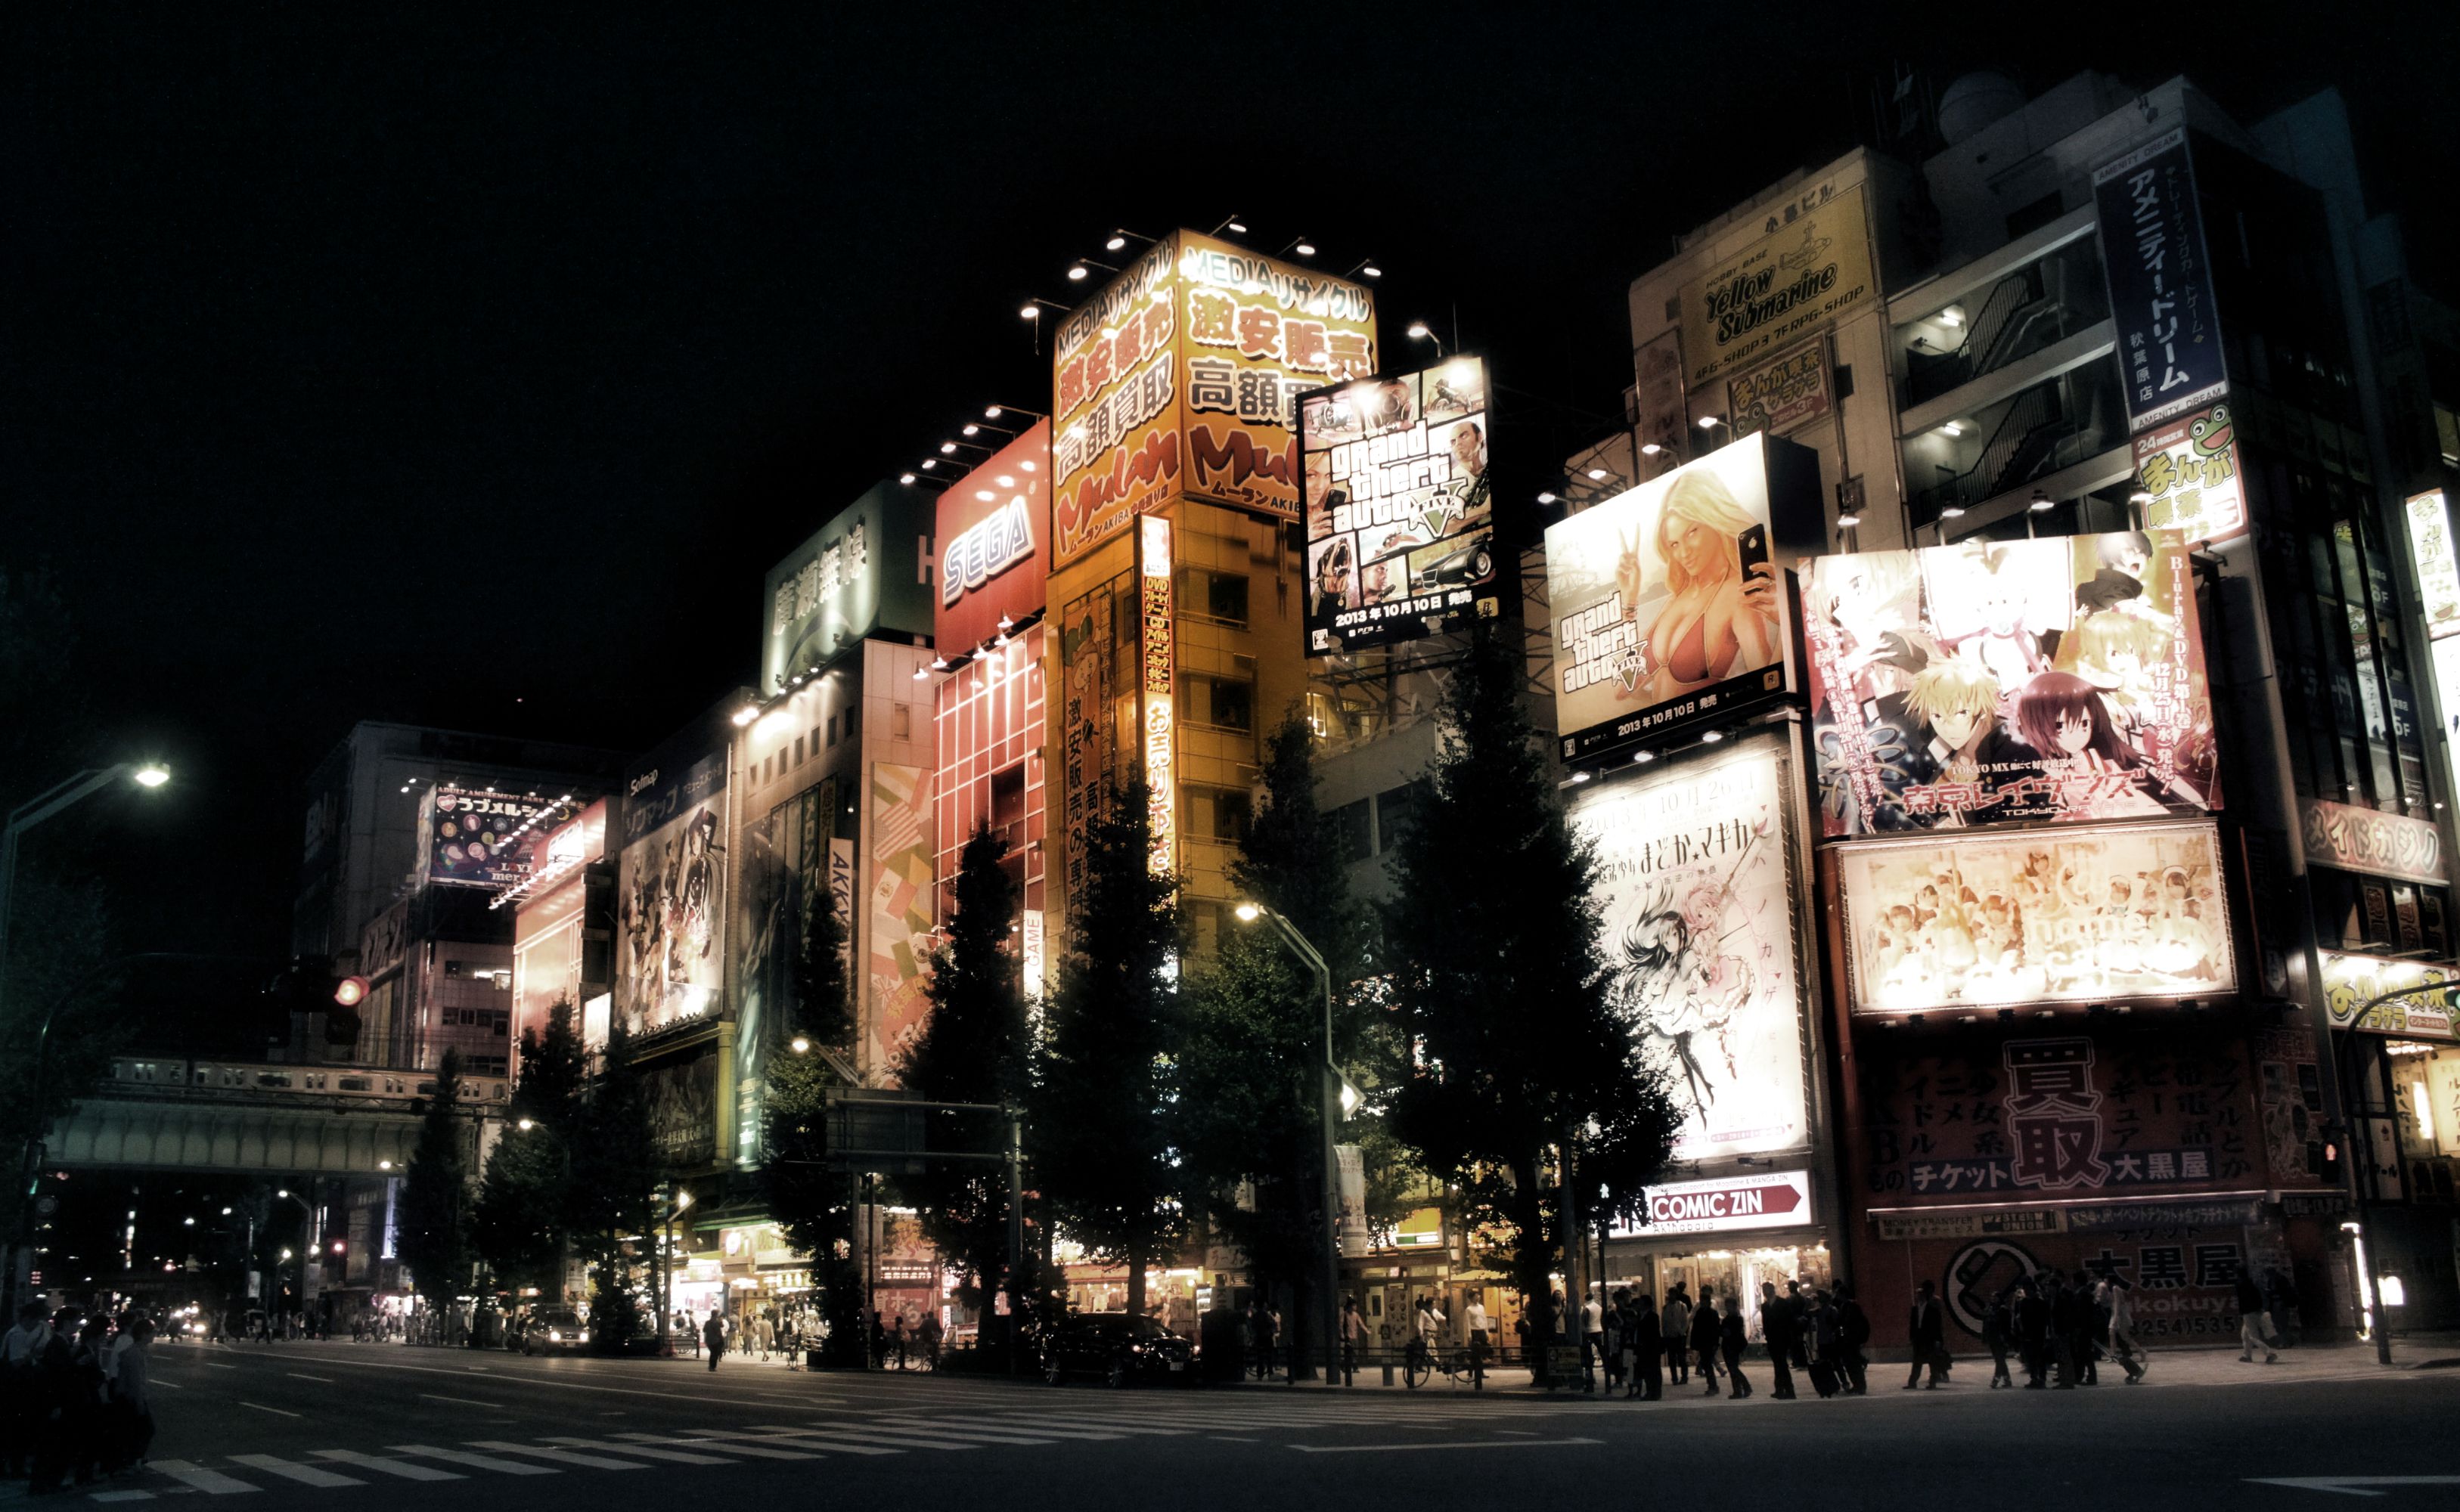
We will be applying all the following steps to this picture, taken in Akihabara, Tokyo.
Apply the luminosity mask filter to the base picture. We will use this later.
Filters → Generic → Luminosity Masks
Duplicate the base picture (Ctrl+Shift+D).
Layer → Duplicate Layer
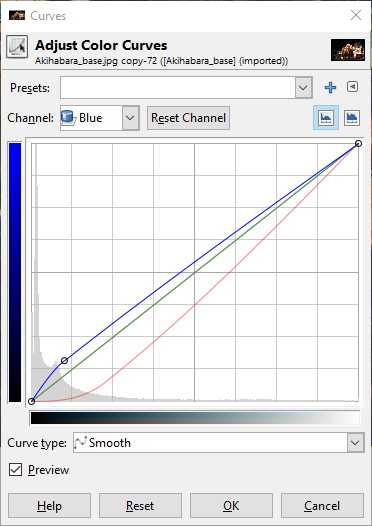
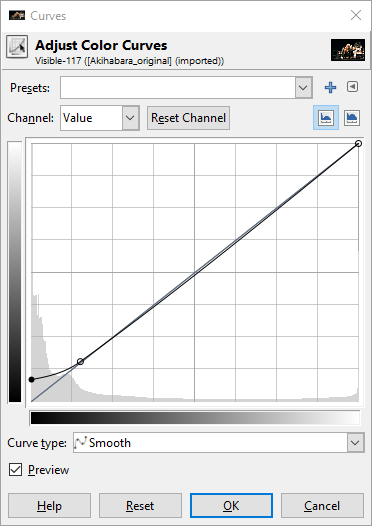
Tone the shadows of the duplicated picture using the tone curve by lowering the reds in the shadows. If you want your shadows to be less green, slightly raise the blues in the shadows.
Colors → Curves

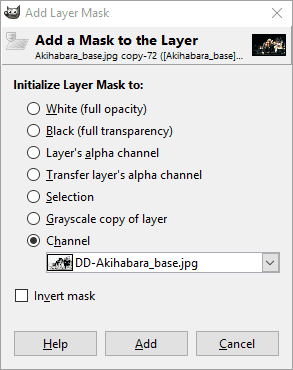
Apply a layer mask to the duplicated and toned picture. Choose the DD luminosity mask from a channel.
Layer → Mask → Add Layer Mask
With both layers visible, create a new layer from what is visible. Call this layer the “blended” layer.
Layer → New from Visible
Apply the wavelet decompose filter to the “blended” layer and choose 9 as number of detail scales. Set the G’MIC output mode to “New layer(s)” (see below).
Filters → G’MIC
Details → Split Details [wavelets]

Make the blended and blended [residual] layers visible. Then set the mode of the blended [residual] layer to color. This will give you a picture with averaged, blurred colors.

Turn the opacity of the blended [residual] down to 70%, or any other value to your taste, to bring back some color detail.
Turn on the blended [scale #8] layer, set the mode to grain merge, and see how the lights start shining. Adjust opacity to taste.
Optional: Turn the wavelet scale 3 (or any other) on to sharpen the picture and blend to taste.
Make sure the following layers are visible:
Make a new layer from visible
Layer → New from Visible
Raise and slightly crush the shadows using the tone curve.
Optional: Adjust saturation to taste. If there are predominantly white lights and the colors come mainly from other objects, the residual will be washed out, as is the case with this picture.
I noticed that the reds and yellows were very dominant compared to greens and blues. So using the Hue-Saturation dialog I raised the master saturation by +70 and lowered the yellow saturation by -50 and lowered the red saturation by -40 all using an overlap of _60_.
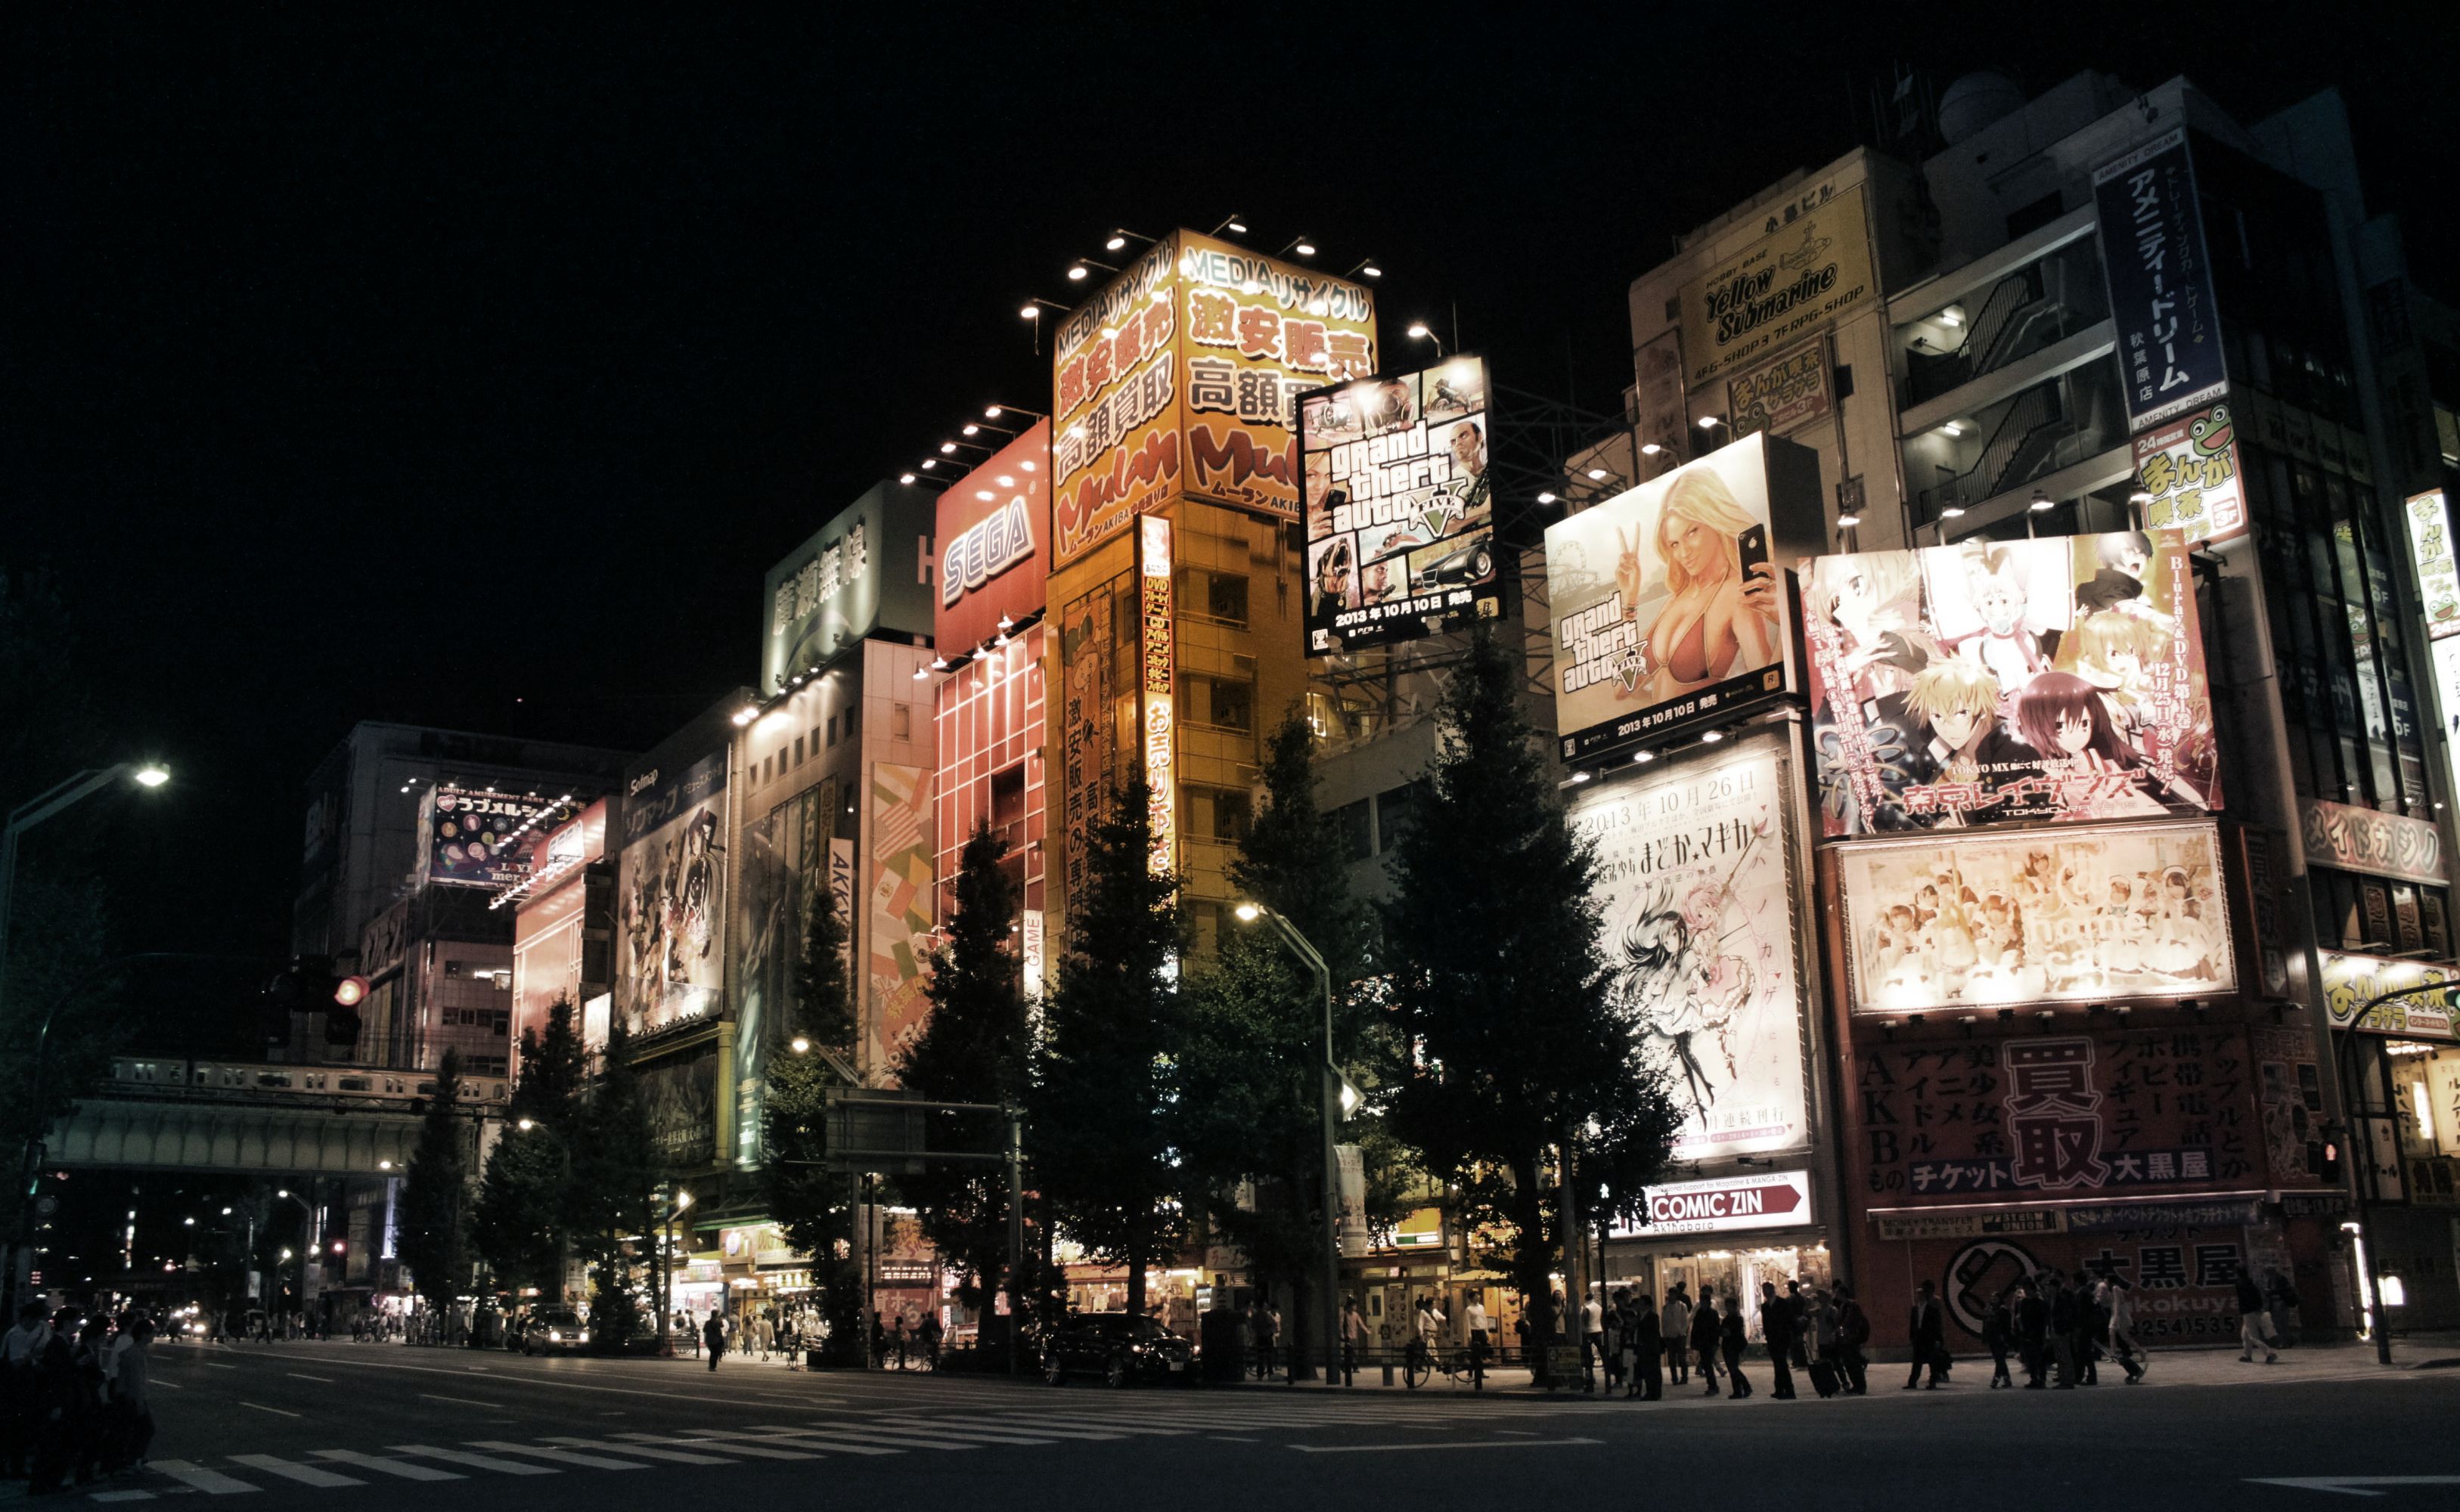
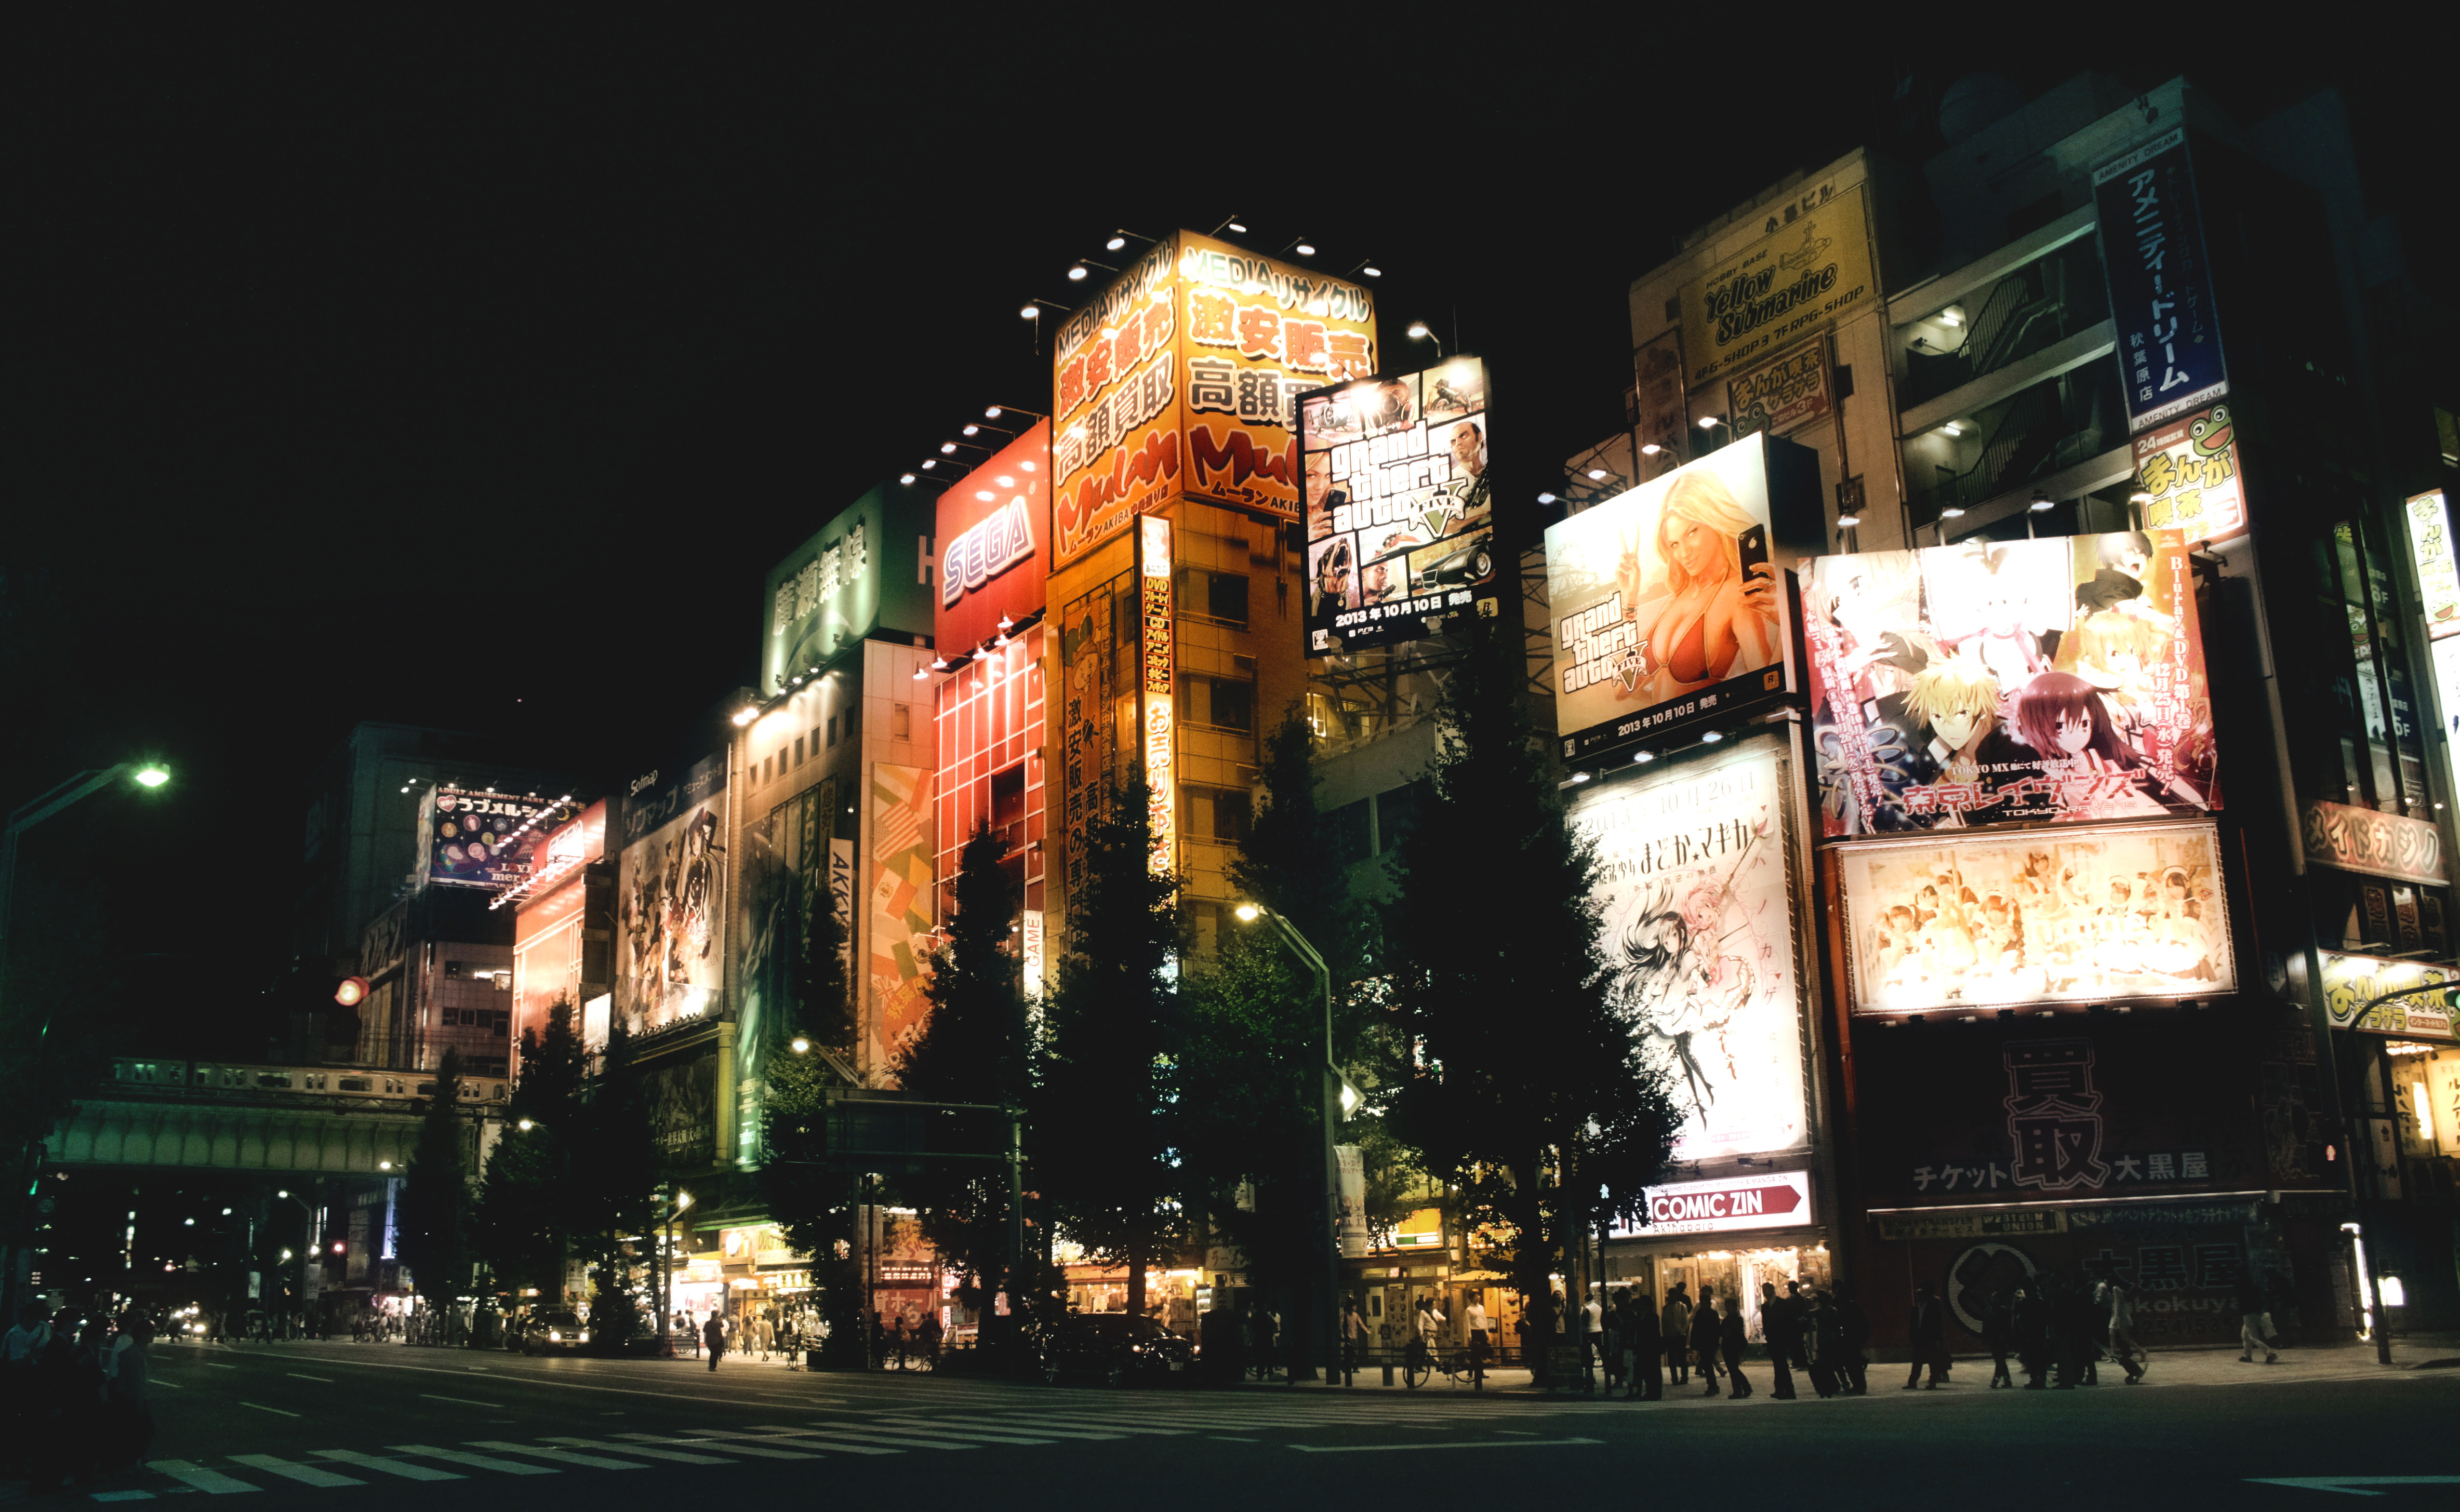
The final result:


Free/Open Source Photography


Unless otherwise noted content on this site, PIXLS.US by Pat David, is licensed under a Creative Commons Attribution-ShareAlike 4.0 International License.